The transition to renewable energy has never been more accessible, with homeowners increasingly taking solar power installation into their own hands. As electricity costs continue to rise and environmental concerns grow, installing solar panels has become both a practical investment and a meaningful contribution to sustainability. While professional installation remains popular, the DIY approach can significantly reduce costs while providing valuable hands-on experience with renewable energy technology.
Understanding Solar Panels
Solar panels harness energy through the photovoltaic effect, converting sunlight directly into electricity. When photons hit the silicon cells within the panels, they initiate an electric current that can be captured and converted into usable power for your home. This fundamental process hasn’t changed since its discovery, but the technology continues to advance in efficiency and affordability.
Modern solar installations typically utilize one of three main panel types. Monocrystalline panels, made from single silicon crystals, offer the highest efficiency and a sleek black appearance, though at a premium price point. Polycrystalline panels, constructed from multiple silicon fragments, provide a more cost-effective alternative with slightly lower efficiency. Thin-film panels, while less efficient, offer flexibility in installation and perform better in low-light conditions.
A complete solar power system extends beyond just the panels. The core components include:
- Solar Panels: The primary energy-collecting units
- Inverter: Converts DC power from panels to AC power for home use
- Mounting System: Secures panels to your roof or ground installation
- Charge Controller: Regulates power flow to prevent battery damage
- Batteries (Optional): Store excess power for nighttime or backup use
- Electrical Disconnects: Safety switches for system maintenance
- Monitoring System: Tracks energy production and system performance
Assessing Your Home’s Suitability

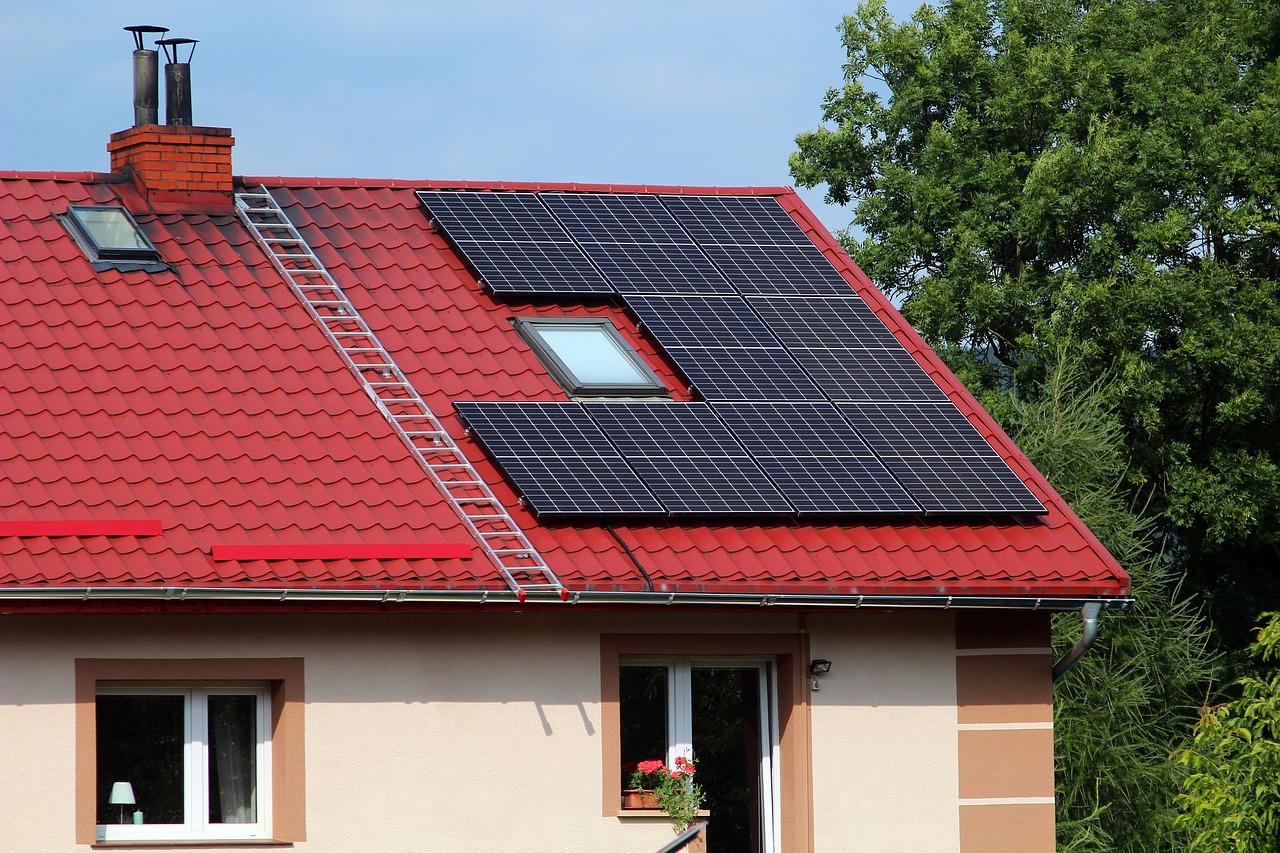
Before purchasing equipment, careful assessment of your property’s solar potential is crucial. Your geographic location, roof orientation, and local climate significantly impact system efficiency. The ideal roof for solar installation faces south in the Northern Hemisphere (north in the Southern Hemisphere), with a pitch between 30-45 degrees. However, east or west-facing roofs can still provide adequate energy production.
Regional Solar Potential in Peak Sun Hours:
|
Region |
Winter Average |
Summer Average |
Annual Average |
|---|---|---|---|
|
Southwest US |
5.5 |
7.5 |
6.5 |
|
Northeast US |
2.5 |
5.5 |
4.0 |
|
Central Europe |
2.0 |
5.0 |
3.5 |
|
Mediterranean |
3.5 |
6.5 |
5.0 |
|
Australia |
5.0 |
7.0 |
6.0 |
Calculate your energy needs by reviewing past electricity bills and identifying peak usage periods. A typical American home uses approximately 30 kilowatt-hours (kWh) per day, requiring a 7-8kW system for complete coverage. However, many homeowners opt for partial coverage to reduce initial costs while maintaining significant energy savings.
Tools and Materials Needed
Essential Installation Equipment:
-
Personal Safety Equipment
- Safety harness and roof anchors
- Work gloves and safety glasses
- Steel-toed boots
- Sun protection
-
Basic Tools
- Heavy-duty drill and bit set
- Ratchet set and adjustable wrenches
- Digital multimeter
- Wire strippers and crimpers
- Level and measuring tape
-
Specialized Equipment
- MC4 connector assembly tools
- Solar panel lift or hoist system
- Angle finder
- Wire management clips and conduit
Step-by-Step Installation Process
The installation process requires careful planning and attention to detail. Begin by obtaining necessary permits and ensuring compliance with local building codes. Many jurisdictions require electrical inspections and specific documentation before system activation.
Start with mounting system installation, ensuring proper waterproofing at all roof penetrations. Use a chalk line to mark stanchion locations, maintaining consistent spacing according to manufacturer specifications. Install flashing and mounting brackets, checking alignment with a level at each step.
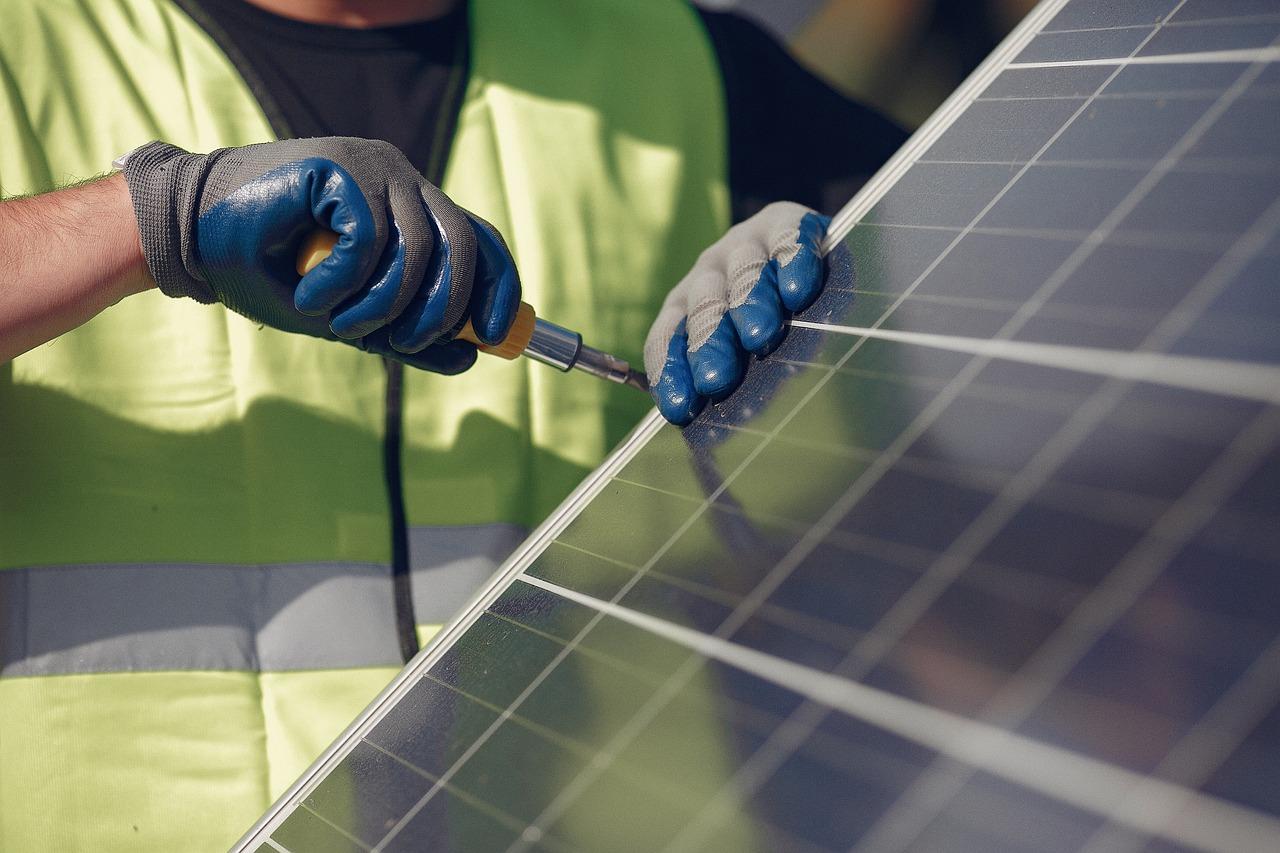
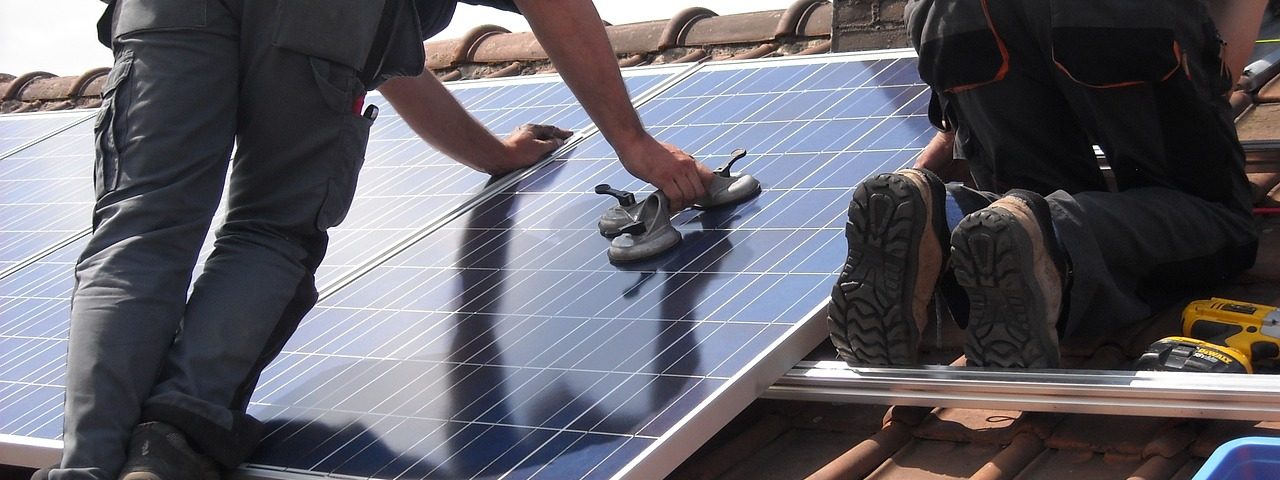
When handling panels, work with a partner to prevent damage and maintain safety. Connect panels in series or parallel according to your system design, using properly rated solar cable and weather-resistant MC4 connectors. Label all connections clearly for future reference and troubleshooting.
The inverter installation location requires careful consideration. Choose a cool, dry area with adequate ventilation, typically near your main electrical panel. Run conduit between the array and inverter, following local electrical codes for outdoor wiring.
Cost Breakdown and Savings Potential

System Costs by Size (DIY Installation):
|
System Size |
Equipment Cost |
Permit Fees |
Optional Components |
Total Cost |
|---|---|---|---|---|
|
3kW |
$4,500-6,000 |
$200-500 |
$1,000-2,000 |
$5,700-8,500 |
|
5kW |
$7,500-9,000 |
$300-600 |
$1,500-2,500 |
$9,300-12,100 |
|
10kW |
$15,000-18,000 |
$400-800 |
$2,000-3,500 |
$17,400-22,300 |
DIY installation typically saves 30-50% compared to professional installation. While equipment costs remain similar, labor savings can amount to $5,000-15,000 depending on system size. Additional savings come through federal tax incentives, state rebates, and reduced utility bills.
Maintenance and Troubleshooting
Regular maintenance ensures optimal system performance and longevity. Conduct monthly visual inspections of panels and connections, looking for physical damage or debris accumulation. Clean panels biannually or as needed, using non-abrasive materials and proper safety equipment.
Monitor system output through your inverter’s display or monitoring system. Unexpected drops in production may indicate problems requiring attention. Common issues include:
- Loose or corroded connections
- Inverter fault codes
- Panel hot spots or damage
- Ground fault interruptions
- Battery maintenance (if applicable)
Document all maintenance activities and keep records of system performance for warranty purposes and optimization opportunities.
Conclusion
DIY solar panel installation represents a significant but rewarding project for homeowners committed to energy independence and environmental sustainability. While the process requires careful planning and attention to detail, the financial and educational benefits make it an attractive option for many. As solar technology continues to advance and become more accessible, the opportunity to participate directly in the renewable energy revolution becomes increasingly appealing.
Before beginning your solar journey, thoroughly research local regulations, connect with experienced DIY installers, and consider taking relevant workshops or certification courses. The investment in knowledge and preparation will pay dividends in system performance and personal satisfaction.
Ready to embrace solar power? Start by assessing your property’s potential and researching equipment options. The path to energy independence begins with a single step, and the resources available today make that step more accessible than ever.

